Recently, Slack changed their payment model such that free accounts can only see 90 days or 10,000 messages of history. However, those messages aren't deleted: they still exist and are freely accessible to you, just in a less-than-helpful format. This guide will show you how to stand up your own Slack Archive website so that you and your fellow Slack members can use your archive as a reference when you're looking for old conversations.
Downloading Your Slack Archive
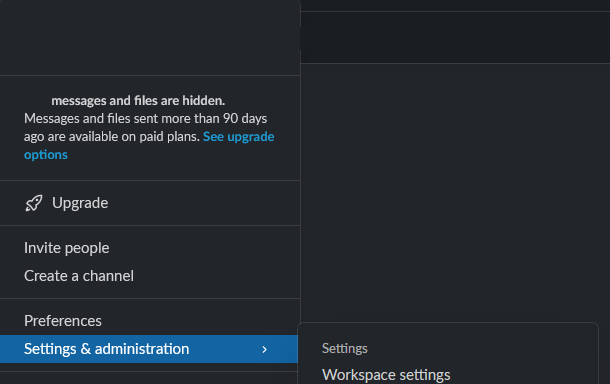
From Slack, click on the workspace menu > Settings & administration > Workplace settings.
- Click Import & Export Data.
- Click the Export tab.
- Choose "Entire history" for your Export date range, then click Start Export.

Save the zip file you received during this process. I renamed this file to export.zip.
Converting Your Slack Archive to HTML
There are two excellent projects on Github to help us with this step:
https://github.com/hfaran/slack-export-viewer - Hosts a website locally to display your Slack data.
https://github.com/hfaran/slack2html - Run slack-export-viewer and export your data as web assets (html, css, images etc.)
Clone the slack2html repo. You need to change a line in requirements.txt from click to click==8.1.3 to deal with some incompatibility issues between Flask and Click. After that, from the slack2html folder, run these commands:
mkdir out
python3 slack2html.py -z export.zip -o out
You can verify that the export worked by opening the file slack2html/out/index.html and confirming that your content is there.
If you're on Windows and having trouble getting this script to work, I recommend using WSL2 for your shell.
Setting Up Webhosting for a Static Site
If you already have web hosting for static files, you probably have your own idea about the fastest way to get your files hosted online. What I have here, is how to set up your site using DigitalOcean, Portainer, and nginx-proxy-manager. This setup allows me to expand to serve more domains and subdomains with different containers; i.e. I can run multiple services off of one DigitalOcean droplet.
Setting Up a Droplet on DigitalOcean
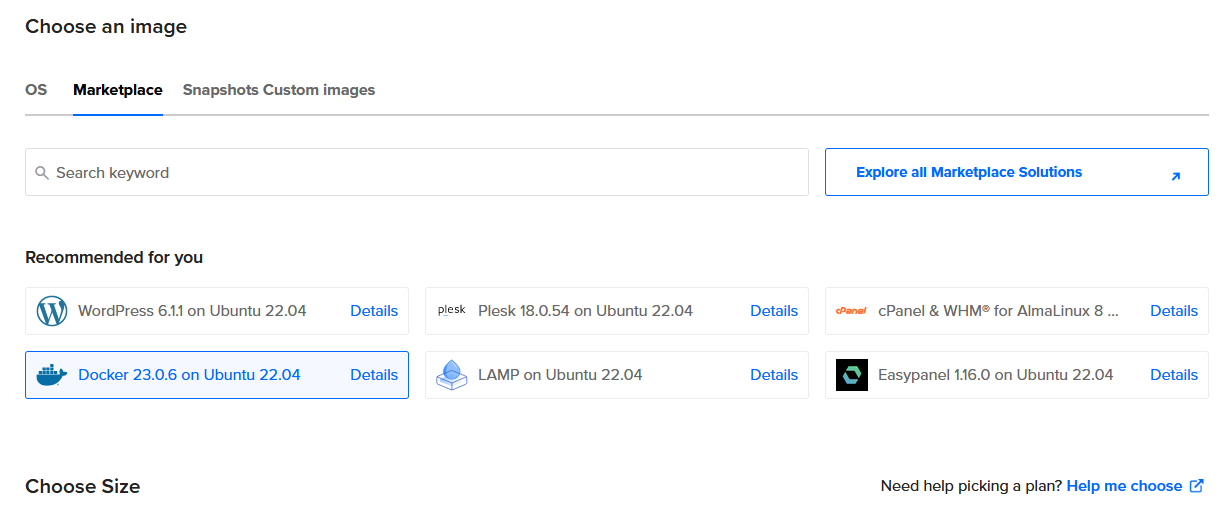
In DigitalOcean, create a Droplet from the Docker image in the marketplace:
Installing Portainer
Once your droplet is running, you can install Portainer, which will give you a web interface to manage your Docker containers. From the console of your droplet, run this:
docker volume create portainer_data
docker run -d -p 8000:8000 -p 9443:9443 --name portainer --restart=always -v /var/run/docker.sock:/var/run/docker.sock -v portainer_data:/data portainer/portainer-ce:latest
From there, you can navigate to {droplet-ip}:9443 and create a login for Portainer.
Installing nginx-proxy-manager
Once inside, choose your local environment, then navigate to Stacks and click Add Stack. You can follow the instructions here to create a docker-compose file. This page also includes the default admin user credentials. I used something like this:
version: "3.3"
services:
  npm-app:
    image: 'jc21/nginx-proxy-manager:latest'
    container_name: npm-app
    restart: unless-stopped
    ports:
      - '80:80' # Public HTTP Port
      - '443:443' # Public HTTPS Port
      - '81:81' # Admin Web Port
      # Add any other Stream port you want to expose
      # - '21:21' # FTP
    environment:
      DB_MYSQL_HOST: "npm-db"
      DB_MYSQL_PORT: 3306
      DB_MYSQL_USER: "npm"
      DB_MYSQL_PASSWORD: ${DB_MYSQL_PASSWORD}
      DB_MYSQL_NAME: "npm"
      # Uncomment the line below if IPv6 is not enabled on your host
      # DISABLE_IPV6: 'true'
    volumes:
      - ./npm-data:/data:Z
      - ./letsencrypt:/etc/letsencrypt:Z
    depends_on:
      - npm-db
    networks:
      - npm-network
      - npm-internal

  npm-db:
    image: 'mariadb:latest'
    container_name: npm-db
    restart: unless-stopped
    environment:
      MYSQL_ROOT_PASSWORD: ${MYSQL_ROOT_PASSWORD}
      MYSQL_DATABASE: 'npm'
      MYSQL_USER: 'npm'
      MYSQL_PASSWORD: ${DB_MYSQL_PASSWORD}
    volumes:
      - ./npm-data/mysql:/var/lib/mysql:Z
    networks:
      - npm-internal

networks:
  npm-internal:
  npm-network:
    external: true
Note that you will need to set environment variables for DB_MYSQL_PASSWORD and MYSQL_ROOT_PASSWORD which should be set to something secure. You will also need to create a network named npm-network to enable communication between nginx-proxy-manager and your other containers.
Loading Content Into nginx
From the container npm-app, open the console. From here, you want to upload your files to the container. I ran a script like this:
cd /data
mkdir subdomain.example.com
cd subdomain.example.com/
# here, use a tool to upload content.zip
unzip content.zip
rm content.zip
Setting Up Authentication
To set up Basic authentication, you'll want to do something like this to set up a single username/password combination that you'll use to authenticate to your site:
cd /etc
openssl passwd # util for generating a password hash
echo "{username}:{hashed password}" > .htpasswd
Once this is set up, you can log in to nginx-proxy-manager by navigating to {your droplet IP}:81.
Configuring nginx-proxy-manager
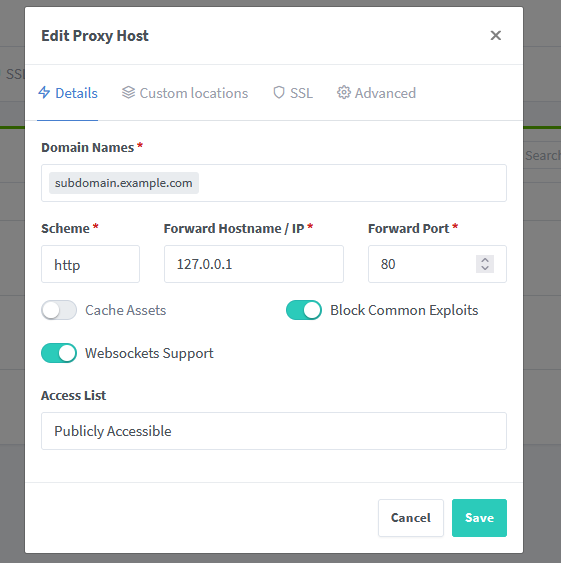
Under Details, add your domain/subdomain with a forward host IP of 127.0.0.1 on port 80.
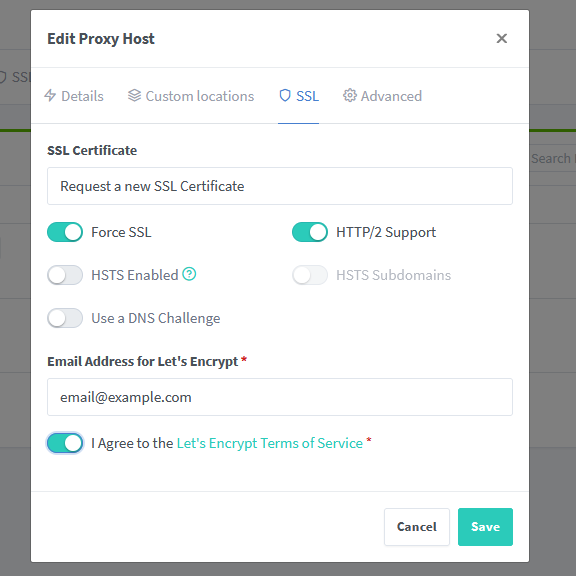
On the SSL tab, you can request an SSL Certificate. This will work as long as you have set up an A record with your DNS registrar.
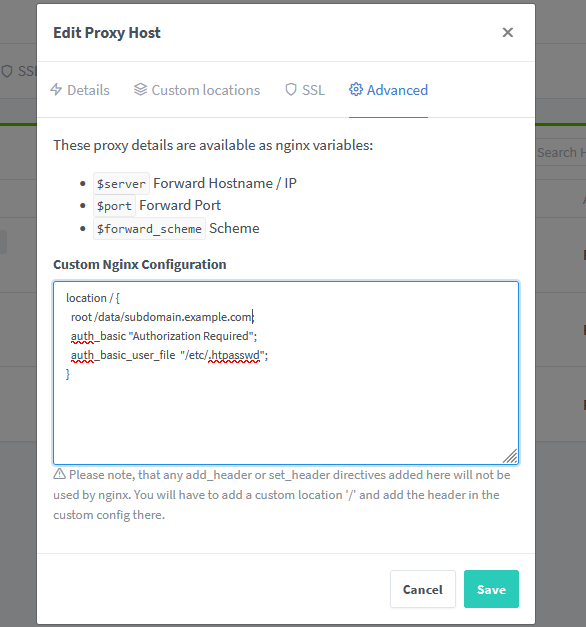
Under Advanced Configuration, use this custom configuration:
location / {
root /data/subdomain.example.com;
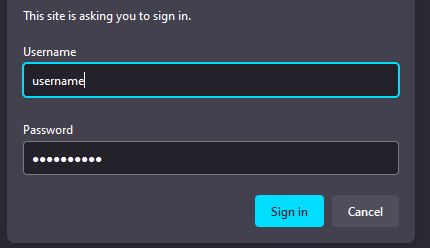
auth_basic "Authorization Required";
auth_basic_user_file "/etc/.htpasswd";
}
At this point, you can navigate to your host subdomain.example.com and you should see your Slack archive!